How to Configure DNS Records Manually in Squarespace
Last updated: February 5, 2026
This guide explains how to manually add or edit DNS records for a domain managed in Squarespace.
Step 1: Log in to Squarespace

Step 2: From the dashboard, select Domains

Step 3: Choose the domain you want to edit.
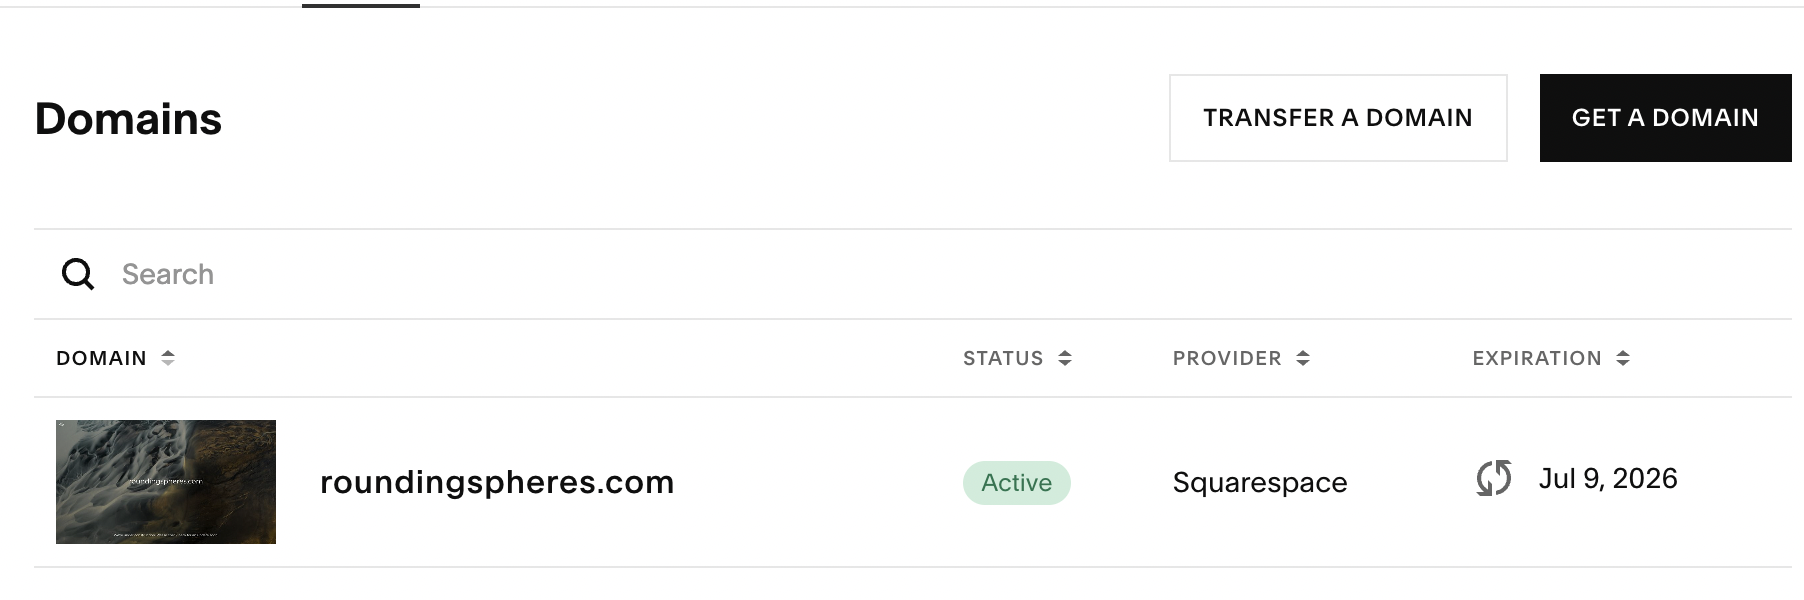
Step 4: Inside your domain settings, click DNS Settings.
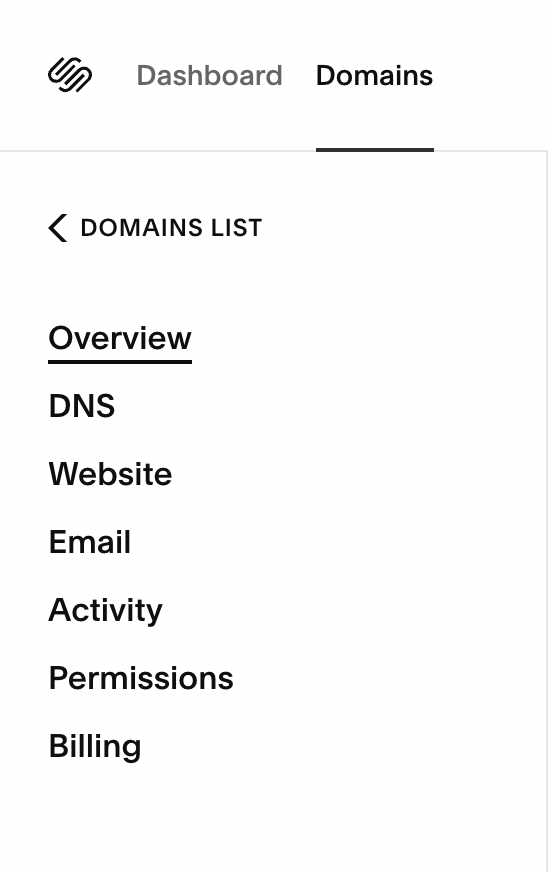
Step 5: Scroll to the Custom Records section. This is where you’ll add, edit, or delete DNS records.
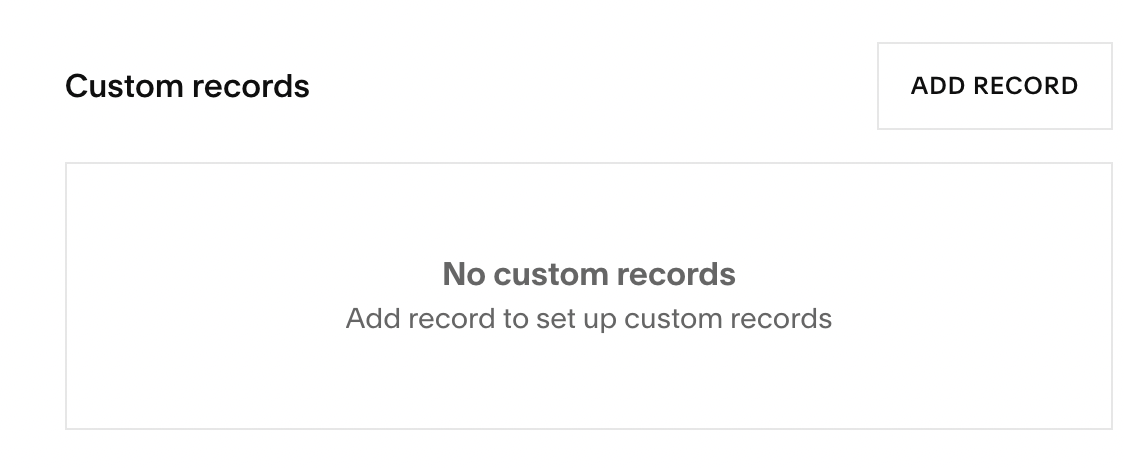
Step 6: Add a New DNS Record
Click Add Record.
Select the record type (A, CNAME, MX, TXT, etc.).
Enter the required values:
Example Fields Explained
Host:
@= root domain (example.com)www= www.example.com
Value: IP address or target domain provided by your service
TTL: Time To Live (leave default unless instructed otherwise)
Priority (MX only): Low
Step 7: Click Save.
DNS changes may take anywhere from a few minutes up to 24–72 hours to fully propagate.